TX Module is here!

Following on from the ‘The First PCB’, my TX module PCBs arrived from China this week and I excitedly wired one up. Well, right up to the point that I realised I’d ran out of 16Mhz crystals! (Needed to run the Arduino/Atmega 328 at full speed) So a frustrating couple of days followed whilst I waited for my trusty eBay vendor to despatch the goods. Here’s the bare PCB:

IMG_20160413_205607

Anyway, Wednesday arrived and my precious crystals were waiting behind the front door in a padded envelope, here’s the completed PCB in all it’s glory:

IMG_20160413_205634

Of course, it wouldn’t do to not show the PCB working so here you go:

Start Light LED clusters have arrived!

I did promise this project would be non-linear and so it is turning out! I complete parts of the project as I find the time, and to be totally honest, as the fancy takes me. It’s my project and my spare time, after all.

Anyway, after learning that I shouldn’t use a very hot soldering iron on my original start light LED clusters, I went back to the drawing board and decided to make them as large as possible within the 5cm x 5cm limit I had set myself (this is the limit of PCB size that most of the Chinese PCB manufacturers will do for $10!). So here’s the bare board:

IMG_20160413_204436

And here’s one populated with components:

IMG_20160413_204449


4-digit 7-segment displays

When I was thinking of all the different ways I could display the race information, I quite liked the idea of these little displays:

TM1637

However, in reality they are REALLY tiny and about the same price as the 8×32 LED matrix displays seen earlier in this blog. There’s kind of no point pursuing this avenue as I don’t see anyone wanting a display of this type, but just to show you one working, here goes!

LED Matrix Displays

This project has a few strands but the basic conecpt of what I want is:

  • Red and Green lights that illuminate at the start and end of the race
  • Timing information displayed

This post is about the display of timing information. I’m looking at several sizes of display; from handheld devices which may be handy for long Nitro races to large wall-mounted timing displays. In this post I’m going to look at these small, 8×32 LED matrix displays.

The pictures kind of lie to you. It looks maybe 22cm long? It’s not. It’s about 15cm, maybe less. So it’s not very big – however that makes it ideal for putting on your pit-table. So that’s what these displays are going to do.

Since the size and resolution of the display limits me in what information I can display, I’ve figured out how to switch between virtual ‘screens’ which display different information. In the first video you can see the display switching between the round/heat information and the time elapsed information:

As a request from a friend following my RCIB Facebook group, I connected two of these displays together to show all the infomartion being shown at once:

The code is up on Github for anyone following along! Wiring instructions are in the description at the top of the code listing.

Project on GITHUB

As I mentioned right at the beginning of the project, this project is for my own…….entertainment really. Yes, it will benefit my RC club and possibly other RC clubs, but it’s a way for me to learn electronics and programming (again) whilst producing something meaningful. It’s not a commercial project as I have a full-time job, so with that in mind, I’m putting the project on Github which serves as a repository for the code, as well as a way to maintain version control as the project develops. It also enables other interested developers to develop their own versions and collaborate with me if they so wish.

The project still has some way to go, from my own mind here are just some of the things I want to do:

  • Design and make several types of timing display
    • A handheld timing display using a 4-digit 7-segment display
    • A small timing display utilising several 8 x 32 LED matrix displays
    • A large timing display utilising several large 7-segment displays
  • Design and make the start/gantry lights display

Anyway, here’s the link to the project on Github:

https://github.com/JoeK1973/RC-INFO-BOARD

The first PCB

So with the majority of the code complete, and with the requirements for the transmitter part of the project finalised, I can now design the PCB for the transmitter module. The requirements are that it needs to house the Atmega328P-PU (the Arduino chip), as well as crystal, it also needs to bring in the data from 2 CP2102 USB to UART convertors and take data out to the nRF24L01 transceiver:


RCINFOBOARD_TX

So this is the design, it’s been ordered from the fabricators, and I’ll be waiting impatiently for a few weeks while it’s made and delivered! You can look at the schematic here on 123D Circuits.


Upgrade complete

So it turns out getting the nRF24L01 code that I copied into my last post was pretty good, just minor amendments to the code to get it passing the full character array containing all the race information.

A couple of hours spent amending the circuits and the code and the project is now running very happily using the nRF24L01 transceivers. Very happy with that, the range is impressive and I haven’t even tweaked the power or bandwidth settings yet!

Upgrading to 2.4Ghz

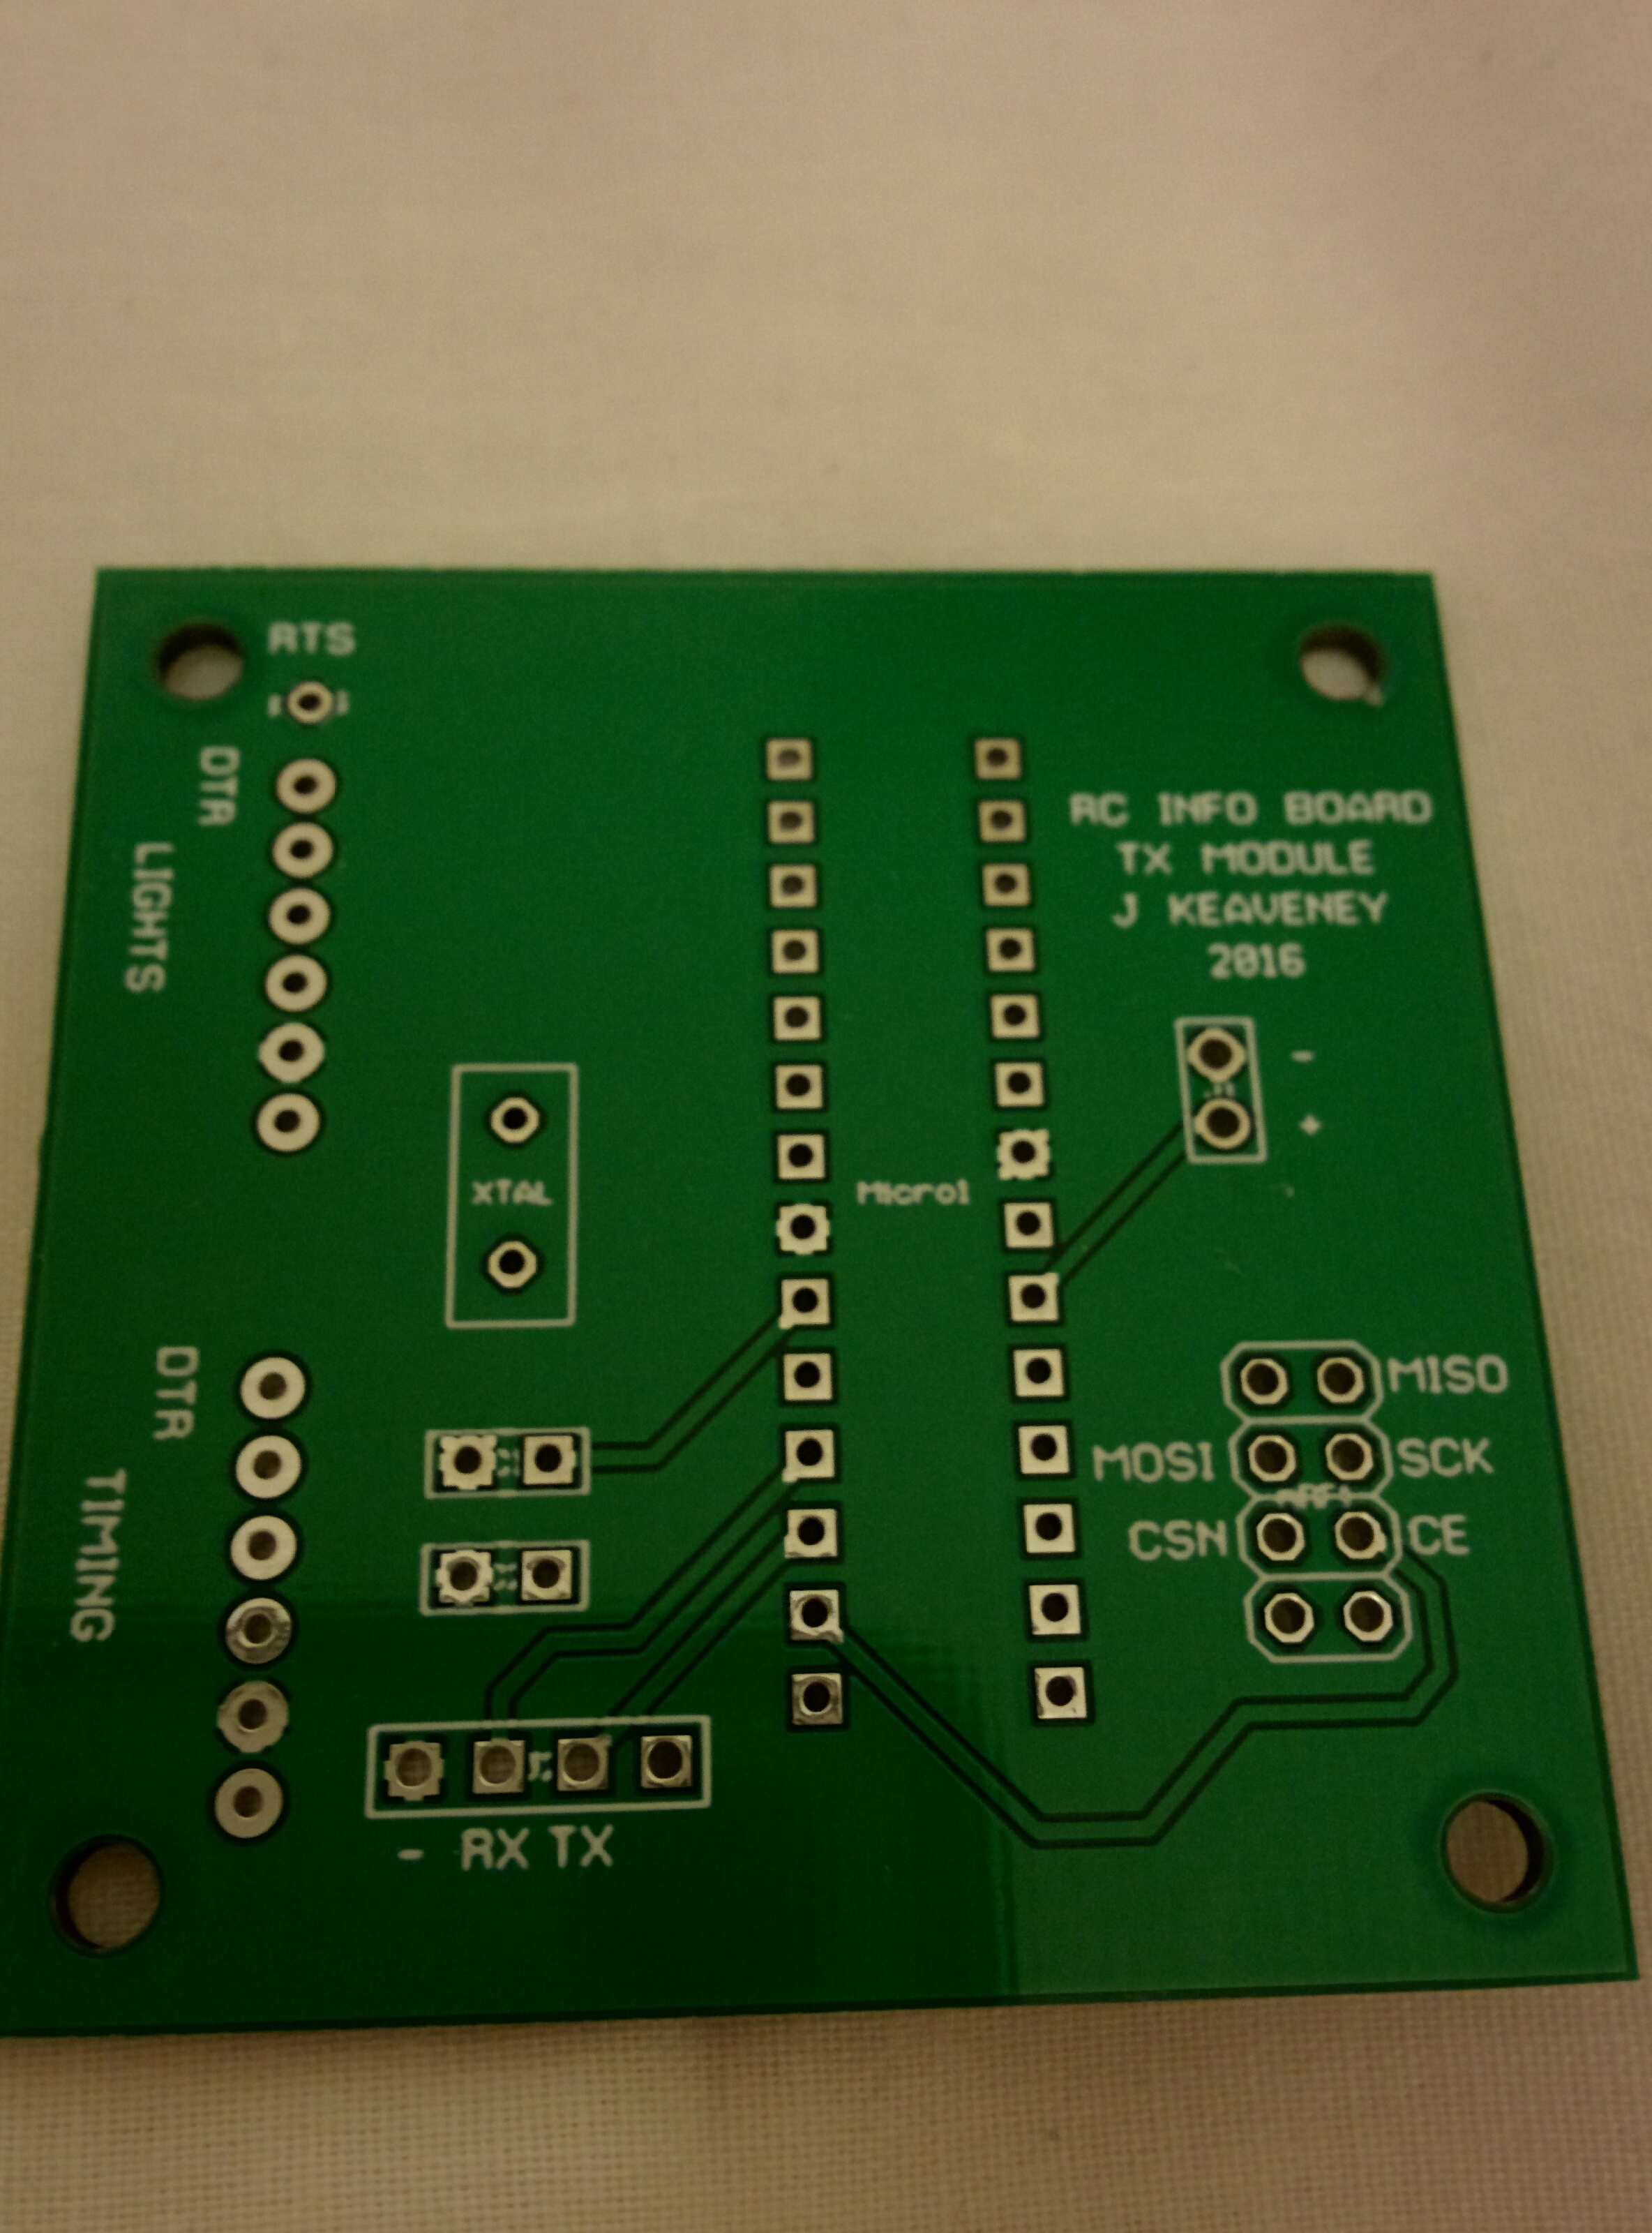
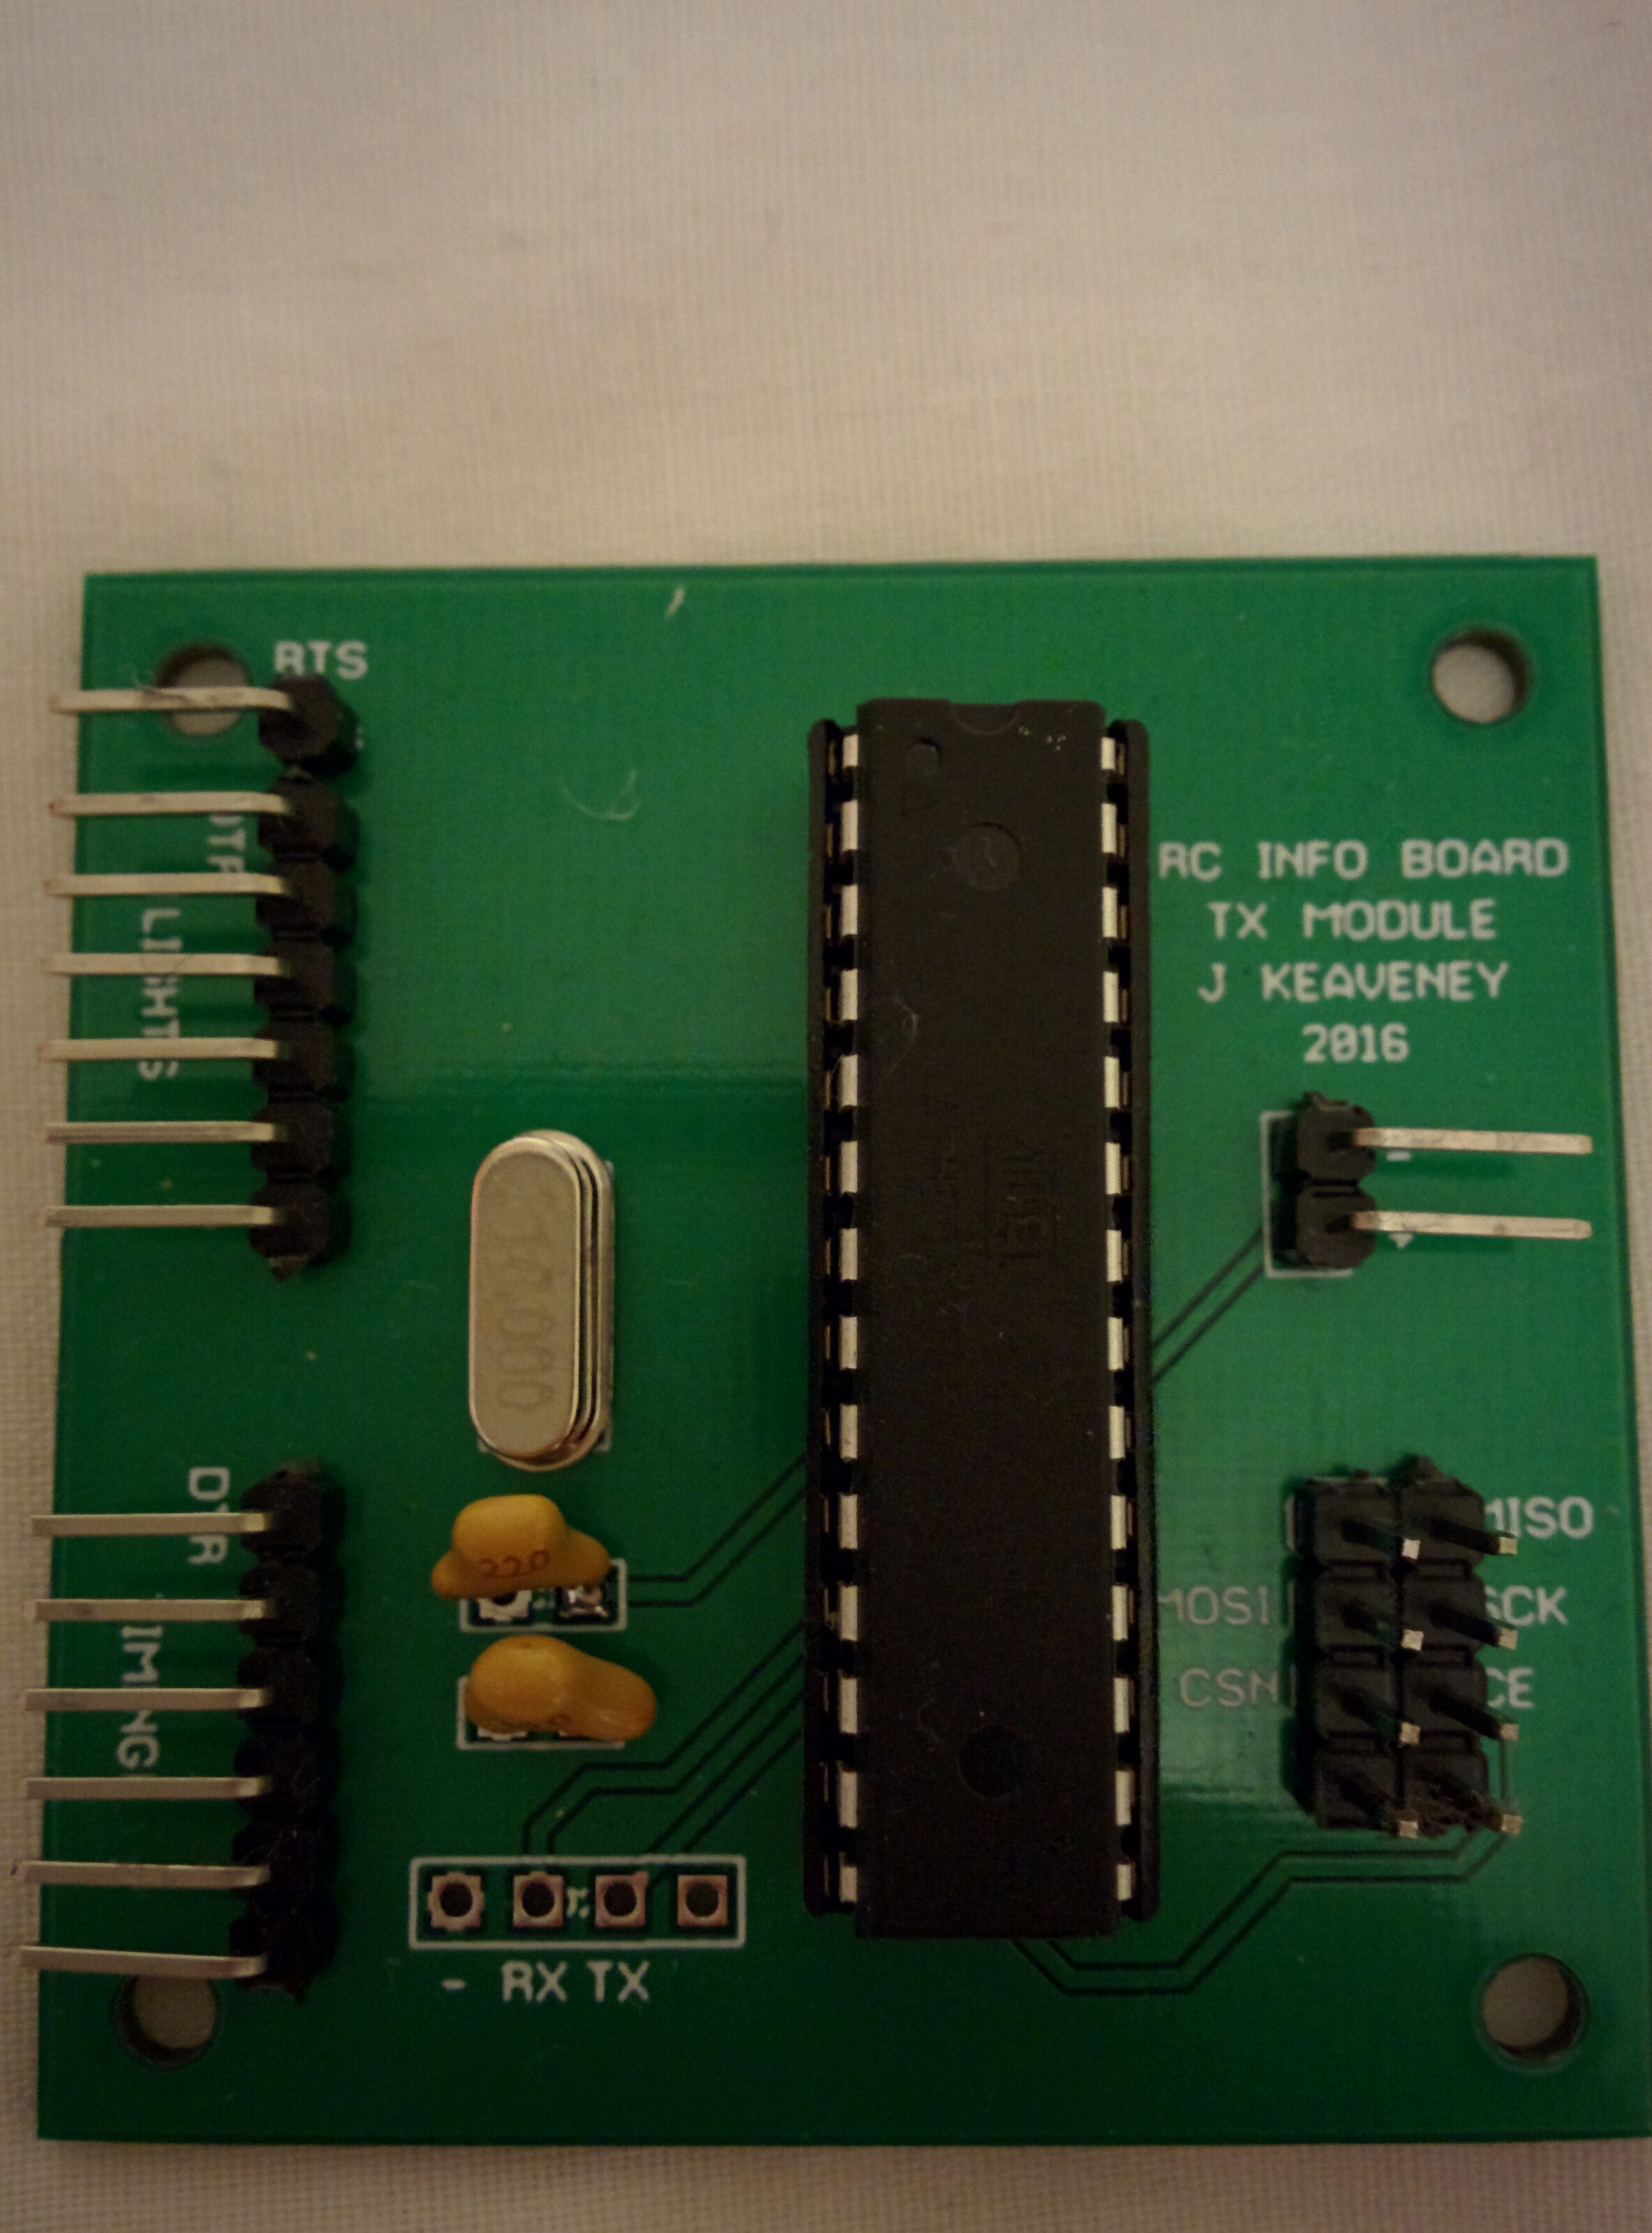
One part of the project that’s bothered me is the use of the 433Mhz equipment I originally bought for it. Don’t get me wrong, it’s pretty good – with 12V to the transmitter module, you can achieve respectable range – however, to do that you need a boost convertor to get the 12V from your 5V power supply, plus you’ll also need tuned lengths of cable for the transmitter and receiver. It’s all a bit……….tedious.

So after watching some videos on Arduino communications on Julian Ilett’s excellent Youtube channel, I decided I’d see how I got on with the Nordic Semiconductor’s nRF24L01 communications equipment. I’ve used the information in this excellent guide at the Arduino-Info site (link to be added).

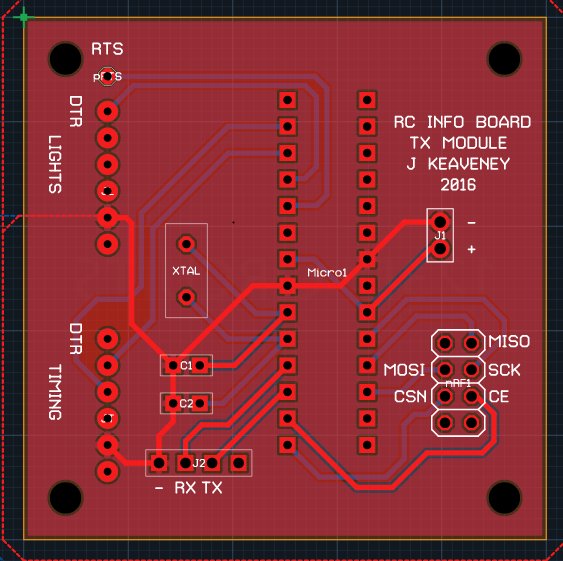
Anyway, borrowing from a couple of sources (the code in the guide as well as the example code in the TMRh20 library mentioned in the guide), I hacked together this working code to test communications between a transmitter and receiver. FYI, I’m using the high-power tranceivers (with PA+LNA) at both TX & RX complete with the base modules mentioned in the guide.

Transmitter:

#include <SPI.h> // Comes with Arduino IDE
#include <RF24.h> // Download and Install (See above)
#include <nRF24L01.h>

RF24 myRadio (7, 8);

byte addresses[6] = {“1Node”};
int tx_data;
int hilo[1];

void setup(){
hilo[0] = 0;
myRadio.begin();
myRadio.setChannel(108);
myRadio.openWritingPipe(addresses[0]);
delay(50);
}

void loop(){
if (hilo[0] == 0){
myRadio.write(&hilo, sizeof(hilo));
hilo[0] = 1;
}
else {
myRadio.write(&hilo, sizeof(hilo));
hilo[0] = 0;
}
delay(1000);
}

The TX code just continually switches the state of the variable ‘hilo’ between 0 and 1 and back with a 1 second delay between transmissions. Any other nRF24L01 receiver using the same RF24 library, channel and ‘pipe’ address will pick this data up.

My receiver code:

#include <SPI.h> // Comes with Arduino IDE
#include <RF24.h> // Download and Install (See above)
#include <nRF24L01.h>

RF24 myRadio (7, 8);

byte addresses[6] = {“1Node”};
int rx_data;
int hilo[1];

void setup(){

pinMode(3, OUTPUT);
hilo[0] = 0;
myRadio.begin();
myRadio.setChannel(108);
myRadio.openReadingPipe(1, addresses[0]);
myRadio.startListening();
delay(50);
}

void loop(){
recvlstate();
if (hilo[0] == 0){
digitalWrite(3, LOW);
}
if (hilo[0] == 1){
digitalWrite(3, HIGH);
}
}

void recvlstate(){
if (myRadio.available()) // While there is data ready
{
myRadio.read( &hilo, sizeof(hilo) ); // Get the data payload (You must have defined that already!)
}
}

The receiver code just takes in the transmitted variable and sends an output pin (Arduino pin 3 in this case) high or low depending on the 0 or 1 state of the ‘hilo’ variable. I’ve had this code working between a transmitter & 2 receivers, so the next step is to integrate the use of these devices into the main project.

External display board output using SoftwareSerial

Our club uses a RIDE board for showing round number, heat number, time elapsed etc to the racers. The RIDE board is a very nice board, well made with large red 7-segment displays made of 3mm LEDs. It was when we had issues with the board (caused by a flaky USB connection long since fixed) that I had the idea for this project. My initial intention was to make my own version of the RIDE board but I have since realised that’s not really what I want (although I may revisit that in the future), however what the project does need (because we have one of these boards and because it was expensive to purchase) is the ability to output the timing information to it.

This has been the elephant in the room for this project from my point of view. Without it, the project is good but is only attractive to those clubs who don’t own a board like this. With the ability to output to the RIDE board, it means my club and others who have the RIDE board can use the project to add more wireless boards and start lights around their circuit.

I’ve been developing this system on several Arduino Unos. The first one I bought from Maplins (an electronics retailer in the UK). The next 4 or 5, I’ve bought from eBay shops where they cost just a few pounds.

Anyway, the major drawback of an Arduino Uno for a project that needs serial input and serial output from the same device (like ours does – RC timing input and RIDE board output) is that the Arduino only has one serial port! So I was faced with a dilemna – do I buy an expensive Arduino Mega which has 4 hardware serial ports, or do I try to emulate a serial port in software on the Arduino? I thought I’d give the Arduino SoftwareSerial library a go.

In fact, it was very easy. From a software point of view, I’d already worked out how to generate the correct message for the output to the RIDE board. One thing I’d found when testing the system was that the VirtualWire library and the SoftwareSerial library had a conflict when using their default pins. Specifically, VirtualWire uses Arduino pins 10 and 11 for PTT (Press-to-talk?) which are the default RX and TX pins for SoftwareSerial. After I changed the pins for SoftwareSerial to pins 5 and 6, I was good to go again. Remember also that the two devices should also be connected to each other’s ground. (So the final device’s serial output ground connection will connect to the RIDE board’s ground connection).

Anyway, here is the breadboard proof-of-concept in action:

Getting rid of Strings

The timing output from the race timing PC running RC-Timing (or other RC timing program) becomes an input to our system on the Arduino serial port (USB port or pins 0 & 1). Up until now I’d been relying on code from the Serial Event tutorial in the official Arduino documentation.

It was when I was trying to add a second serial port to the project that I seemed to run up against some issues with the way data was being stored, for some reason I could inject a small amount of data into the serial buffer myself (and the code would handle the data correctly) but when I connected the Arduino to RC-Timing I was getting or creating garbage. Anyway, I asked a question on the Arduino forum and received an interesting reply from a user called Robin2 (it’s reply #8 in the thread).

Anyway, I figured these people probably aren’t wrong with their views on String objects; I haven’t delved deep into the issue but I was willing to try the alternative (character arrays).

So let’s look at the code:

void serialEvent(){
static boolean recvInProgress = false;
static byte ndx = 0;
char startMarker = ‘[‘;
char endMarker = ‘]’;
char rc;

// if (Serial.available() > 0) {
while (Serial.available() > 0 && stringComplete == false) {
rc = Serial.read();

if (recvInProgress == true) {
if (rc != endMarker) {
receivedChars[ndx] = rc;
rideChars[(ndx + 1)] = rc;
ndx++;
if (ndx >= numChars) {
ndx = numChars – 1;
}
}
else {
receivedChars[ndx] = ‘\0’; // terminate the string
rideChars[(ndx + 1)] = rc;
rideChars[(ndx + 2)] = ‘\0’;
recvInProgress = false;
ndx = 0;
stringComplete = true;
}
}

else if (rc == startMarker) {
recvInProgress = true;
rideChars[ndx] = rc;
}
}
}

You’ll notice there’s a bunch of local variables declared at the start of the function. These serve various functions – recvInProgress lets the program know whether there is still data to be read in from the serial buffer. ndx is an index variable (used to write to a specific character in the character array). Then we have the two markers, starMarker and endMarker – these indicate to the program when we should start reading into the receivedChars array (which is a global variable declared at the start of the main program), and when we should stop reading into receivedChars. This then resets all the variables other than receivedChars to empty and terminates the array with a ‘\0’ character.

There are three circumstances that the serialEvent() function deals with – is the received character (the variable called rc which is of char type) our start marker, something inbetween the start and end marker, or is it the end marker?

You’ll notice in the code that I also store the received character from the serial buffer into a seperate character array (again, a global variable) called rideChars. This stores the message received with the ‘[‘ and ‘]’ characters added onto the beginning and end of the array. This is for the feature described in the post ‘External display board output using SoftwareSerial’.